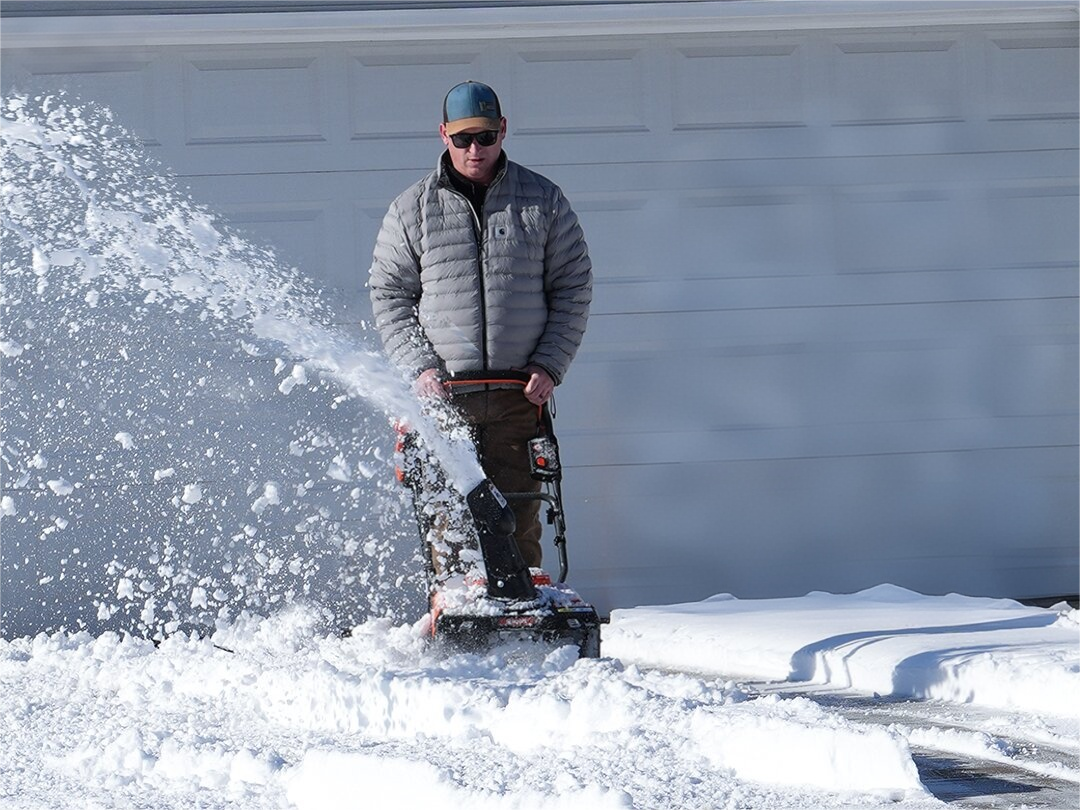
As winter approaches, the possibility of snowy days has increased significantly. For small gasoline snow blowers used for household or small commercial purposes, maintenance before winter is particularly important. A thorough pre-winter maintenance of a small gas snow blower can not only ensure that it does not fail at critical moments, but also significantly extend its service life and guarantee operational safety. This article will provide you with a detailed explanation on how to correctly maintain a small gasoline snow blower before winter to ensure its stable operation throughout the winter.
Why is It Crucial to Maintain Snow Blowers Before Winter
- Small gasoline snow blowers usually have the characteristics of being “frequently used and idle during normal times”. If regular maintenance is lacking, the following problems may arise:
- Starting problem: The wrong viscosity level of the engine oil or the quality of the fuel can lead to the engine not starting smoothly at all.
- Power drop: An air filter that has not been replaced for a long time and out-of-order spark plugs can reduce the snow blower’s power output.
- Part rusting and oil channel clogging: In the long run, moisture and old fuel can be harmful to the carburetors, gearboxes, and auger shafts.
7 Core Maintenance Steps Before Winter Use
Prior to commencing maintenance, it is necessary to check if the engine has cooled down completely and to carry out the procedure in a well-ventilated outdoor area or an open garage. Above all, prevent accidental starting by disconnecting the spark plug wiring before beginning any maintenance work.
Step 1: Thorough cleaning and visual inspection
In the beginning, the machine should be given a gentle cleansing using a soft brush and cotton cloth to get rid of the dirt, what remains of the snow and hard chunks from the last winter, especially on the air inlet grille and snow outlet channel. After that, check if all visible screws and nuts are tight and examine the rubber scraper (blade) for wear. If the wear is greater than 50%, it is advisable to replace it. Lastly, a small amount of grease should be applied to all the moving connection points, like the throttle line and steering gears.
Step 2: Fuel system treatment (The key to preventing clogging)
If fuel remains unused for an extended period, it will break down and create gum that will block the carburetor, which is the primary cause of the engine not turning over.
- Old fuel should be drained: Either burn the fuel in the tank by starting the engine or use a siphon to remove the remaining fuel directly.
- Treat with stabilizer: Top off the tank with fresh gasoline so that it is full (to minimize the air space and thus reduce the chance of condensation) and put in the fuel stabilizer according to the recommended ratio. After that, let the engine run for about 5 to 10 minutes so that the stabilizer is well mixed and reaches every corner of the fuel line.
- Inspect the fuel line: Conduct a visual check of the fuel line from the tank to the carburetor to spot any signs of aging or cracking, if there is any.
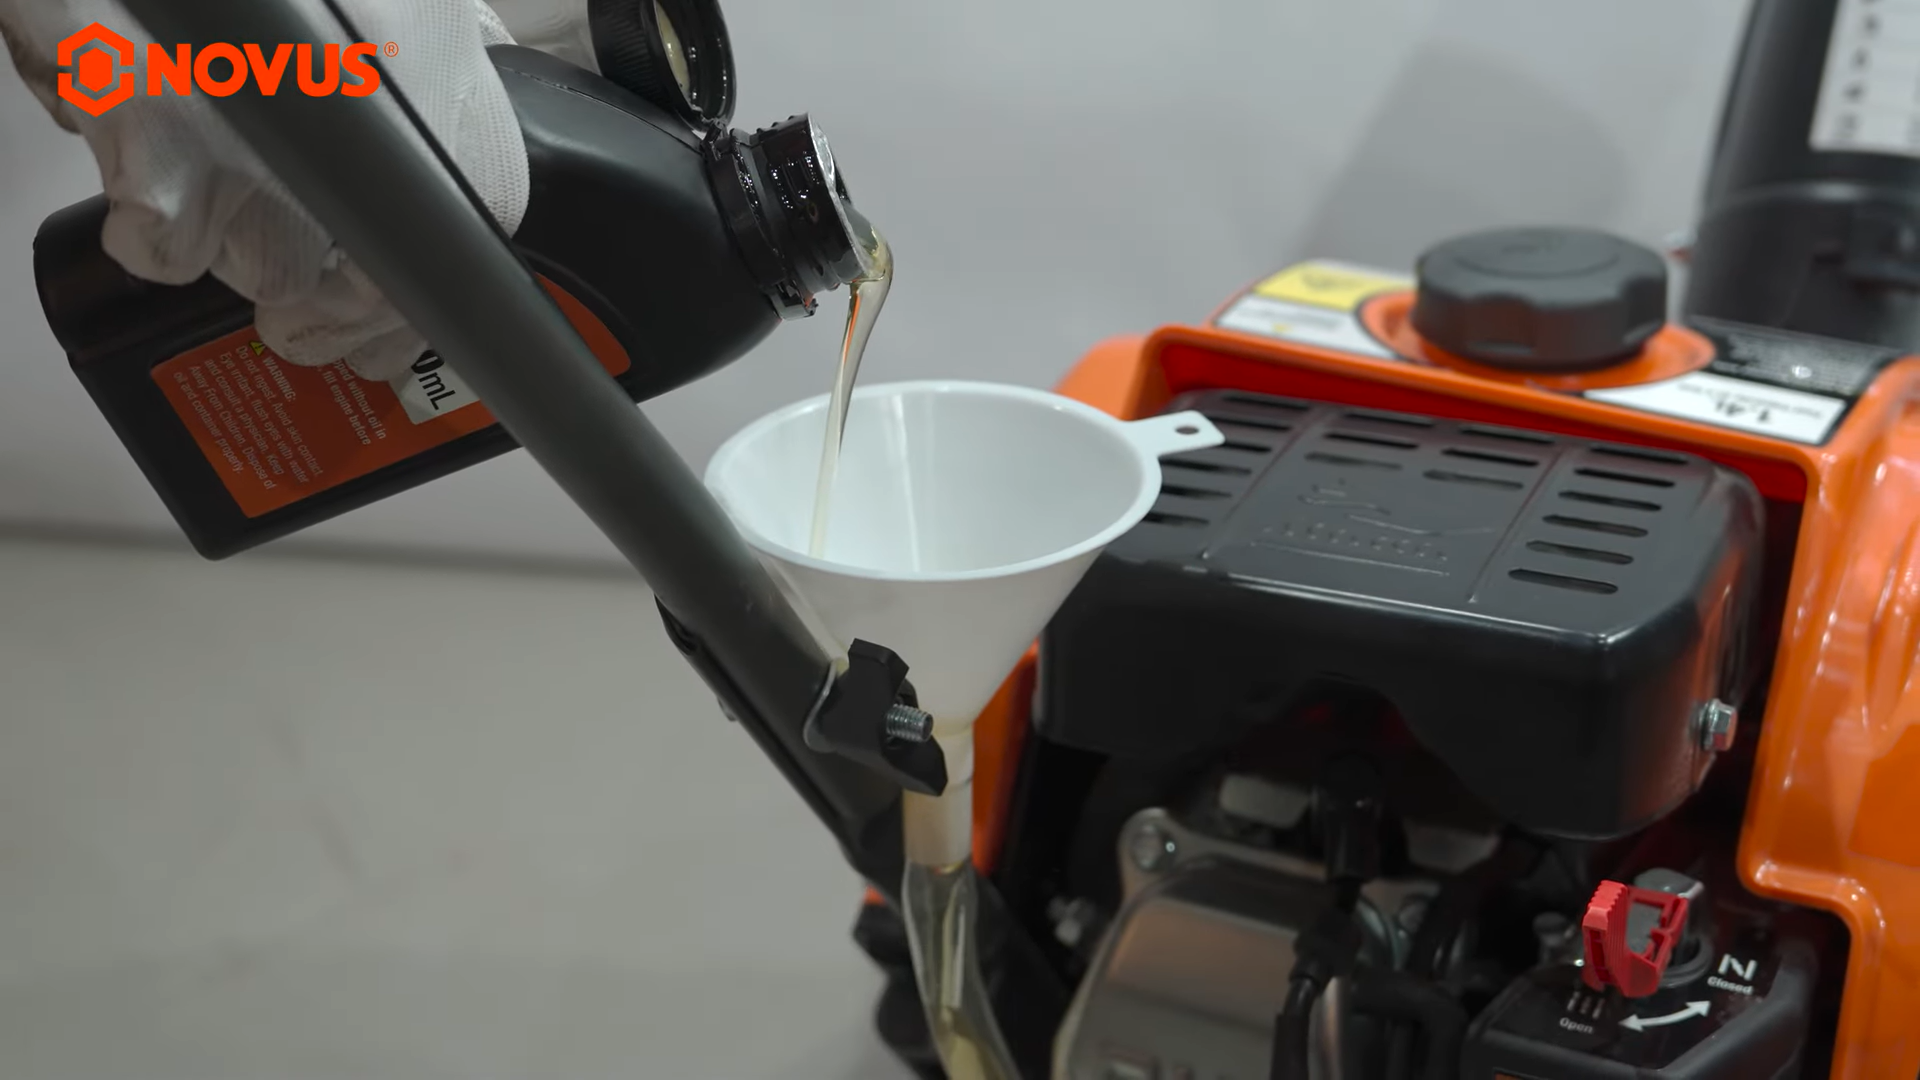
Step 3: Change the engine oil
The fluidity is best when the engine is slightly warm (rather than boiling hot).
- Lay the snow blower flat and place the oil collection basin under the oil drain screw.
- Incise the oil drain screw and the oil dipstick to let all the old oil out thoroughly.
- Screw the oil drain screw tightly and pour new engine oil equivalent to the amount advised in the manual through the oil filling hole.
- Use the dipstick to check the oil level and make sure it is not above the “Full” mark.Remove oil stains if any.
Step 4: Spark plugs and ignition system
- Use a spark plug wrench to remove the old spark plugs.
- Check the electrode condition: Severe carbon deposits or electrode erosion? Is the gap correct (usually 0.76mm, please refer to the manual)?
- It is strongly recommended to directly replace it with a new spark plug that matches the model. This is the performance guarantee with the lowest cost and the most significant effect.
- Check whether the spark plug cap is tight and if there is any damage to the circuit.
Step 5: Maintenance of the air filter
A contaminated air filter will limit the air intake, leading to less power and more fuel consumption.
- Paper filter element: Lightly tap to dislodge the dust. In case it is extremely dirty, just change it.
- Foam filter element: Wash with warm water and light detergent, rinse out completely and let to dry in the air. Prior to putting it back, put a few drops of motor oil on the filter element and lightly spread it out evenly. This can boost the dust trapping capacity.
Step 6: Debugging of key mechanical components
Snow-throwing rotor: Check if the rotor and blades are bent or damaged, and remove tangled ropes or ice blocks.
- Drive system: Check if the track tension is appropriate and whether there is excessive relaxation or wear. For wheeled models, check the tire pressure and tire tread.
- Operating mechanism: Test whether the clutch pull rod and gear shifting are flexible. If necessary, drip lubricant into the steel wire.

Step 7: Final trial run and proper storage
- Plug the wires of the spark again.
- Run the device in a free area and see if the operation of every gear (forward, backward, and snow-throwing) is ok.
- Take note of the exhaust smoke color (it should be transparent or light gray), be alert for any noise that is out of the ordinary, and check if the vibration is steady.
- Switch off the motor, do the cleaning, and get rid of all the moisture.
- It is better to put the snow blower in a place that is both cool and dry. Using a dust cover is a good idea, in order to keep it safe from dust and moisture.
Different Maintenance Methods for Long-term Storage And Short-term Storage
Short-term storage (1 to 3 months)
Add fuel stabilizer to keep the fuel fresh.
Start it at least once a month to prevent rusting of machine parts and blockage of oil circuits.
Long-term storage (throughout the non-snow season)
Drain the fuel or fill it up to prevent rust, depending on the manufacturer’s recommendation.
Change the engine oil, clean the spark plugs and keep the environment dry and well-ventilated.
Maintenance Focus of Different Types of Small Gasoline Snow Blowers
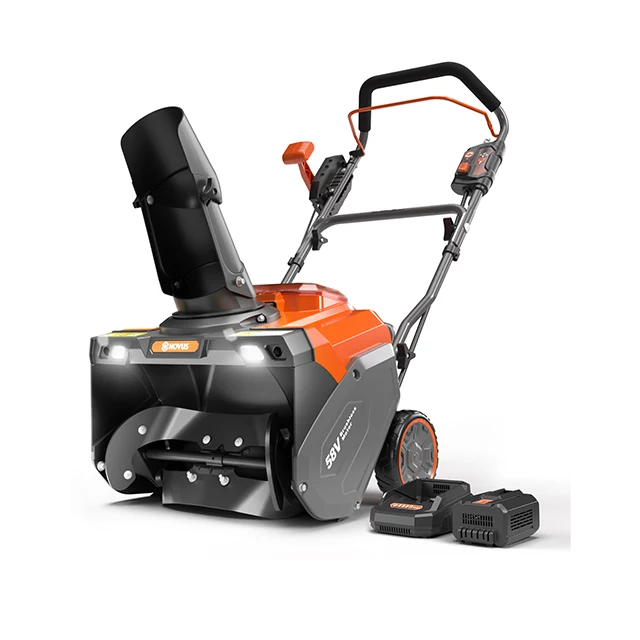
Single-Stage snow blower
The structure is simple, but the rubber scraper and the screw shaft wear out quickly.
Focus on inspecting the wear conditions of the scraper and the screw shaft.
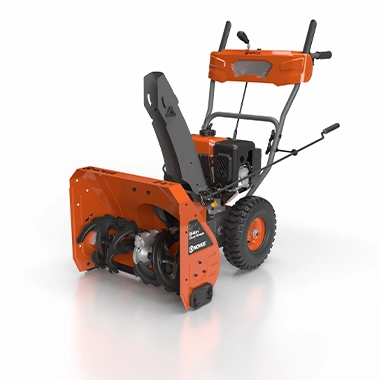
The structure is complex, featuring a gearbox and a snow-throwing air duct.
Focus on inspecting the transmission, snow-throwing air duct and belt wear. The maintenance cycle is particularly important.
Quick Self-Check Form for Frequently Asked Questions
| Problem phenomenon | Possible reasons | Solution direction |
| Cannot start | 1. The fuel has deteriorated2. Spark plug failure3. Air filter blockage4. The ignition switch is not on | 1. Drain and replace with new fuel2. Clean or replace the spark plugs3. Clean or replace the air filter4. Check all switches |
| Difficult to start or prone to stalling | 1. The carburetor is slightly clogged2. The oil level is incorrect3. Improper use of the dampers | 1. Add fuel cleaner and run it2. Check and adjust the oil level3. Check the startup procedure |
| Throwing snow is weak and the distance is short | 1. The belt is loose and worn2. The rotor is jammed by foreign objects3. Insufficient engine speed | 1. Check and adjust/replace the belt2. Clean the rotor cavity3. Please have a professional check the throttle control |
| Abnormal vibration of the machine | 1. Screws and bolts are loose2. The snow-throwing blades are damaged or unbalanced3. Wear of the crankshaft or bearings | 1. Fully tighten2. Check the blades3. Send it to a professional repair point for inspection |
Advanced Suggestions and Professional Maintenance Timing
- Deep maintenance cycle: Every 2 to 3 seasons of use, or after cumulative operation for more than 50 hours, deep maintenance such as gearbox oil change and bearing inspection should be considered.
- Identify the signals for repair: If the engine emits a shrill metallic friction sound, the transmission fails to shift gears, or there is severe blue smoke (oil burning), this has exceeded the scope of basic maintenance and should be immediately sent to professional maintenance personnel for handling.
| Cycle | Maintenance content | Key points of operation |
| After each use | Clean the heat sink | Use a soft-bristled brush to remove the dust from the cylinder block heat sink |
| 50 hours | Change the engine oil | When the engine is hot, drain the old engine oil and add new engine oil to the dipstick mark |
| 100 hours | Clean up carbon deposits | Disassemble the cylinder head to clean the carbon deposits on the piston/valve to prevent them from entering the cylinder bore |
| 200 hours | Replace the air filter element | The paper filter element should be replaced directly, while the sponge filter element should be cleaned and dried |
| 300 hours | Comprehensive maintenance | Check the fireproof mesh of the muffler and the carburetor seal |
Conclusion
Spend one or two hours giving your small gas snow blower a comprehensive “physical examination” and “warm-up”, and what you get in return is peace of mind, efficiency and safety throughout the winter. When the snowstorm comes and your neighbors are still worrying about the machines that won’t start, you can already clear the unobstructed road calmly and quickly. Develop the good habit of seasonal maintenance, and this “winter guardian” will surely repay you with a longer service life and more reliable performance.

Leave feedback about this