The traditional methods of paint removal through manual scraping and sandpaper grinding and chemical strippers require extensive time and labor and produce inconsistent outcomes. The pressure washer operates at an extremely fast speed to break the bond between paint and substrate which results in a 60% to 70% time reduction for large-scale operations. The process simultaneously prevents chemical substances from creating toxic hazards.
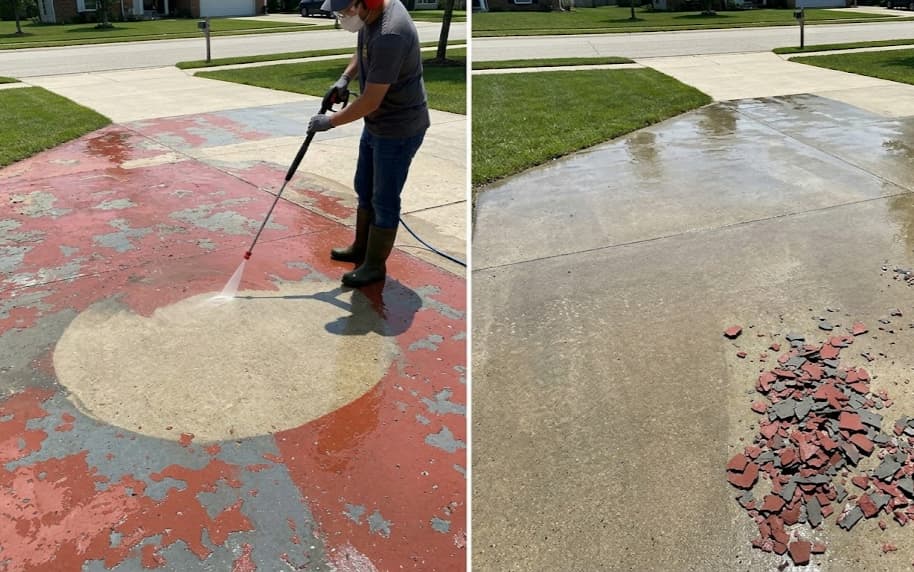
The pressure washer functions as a paint removal tool that lacks universal applicability. The equipment functions best on surfaces where paint has peeled, cracked, and lost its adhesive properties; the equipment needs chemical strippers to remove oil-based and epoxy paints that have bonded with hard surfaces before using the pressure washer.
A 2,000 PSI household electric motor can clean the surface, but to truly remove stubbornly adhered paint layers, you need at least 3,000 PSI.
Step 1: Determine The Paint Type
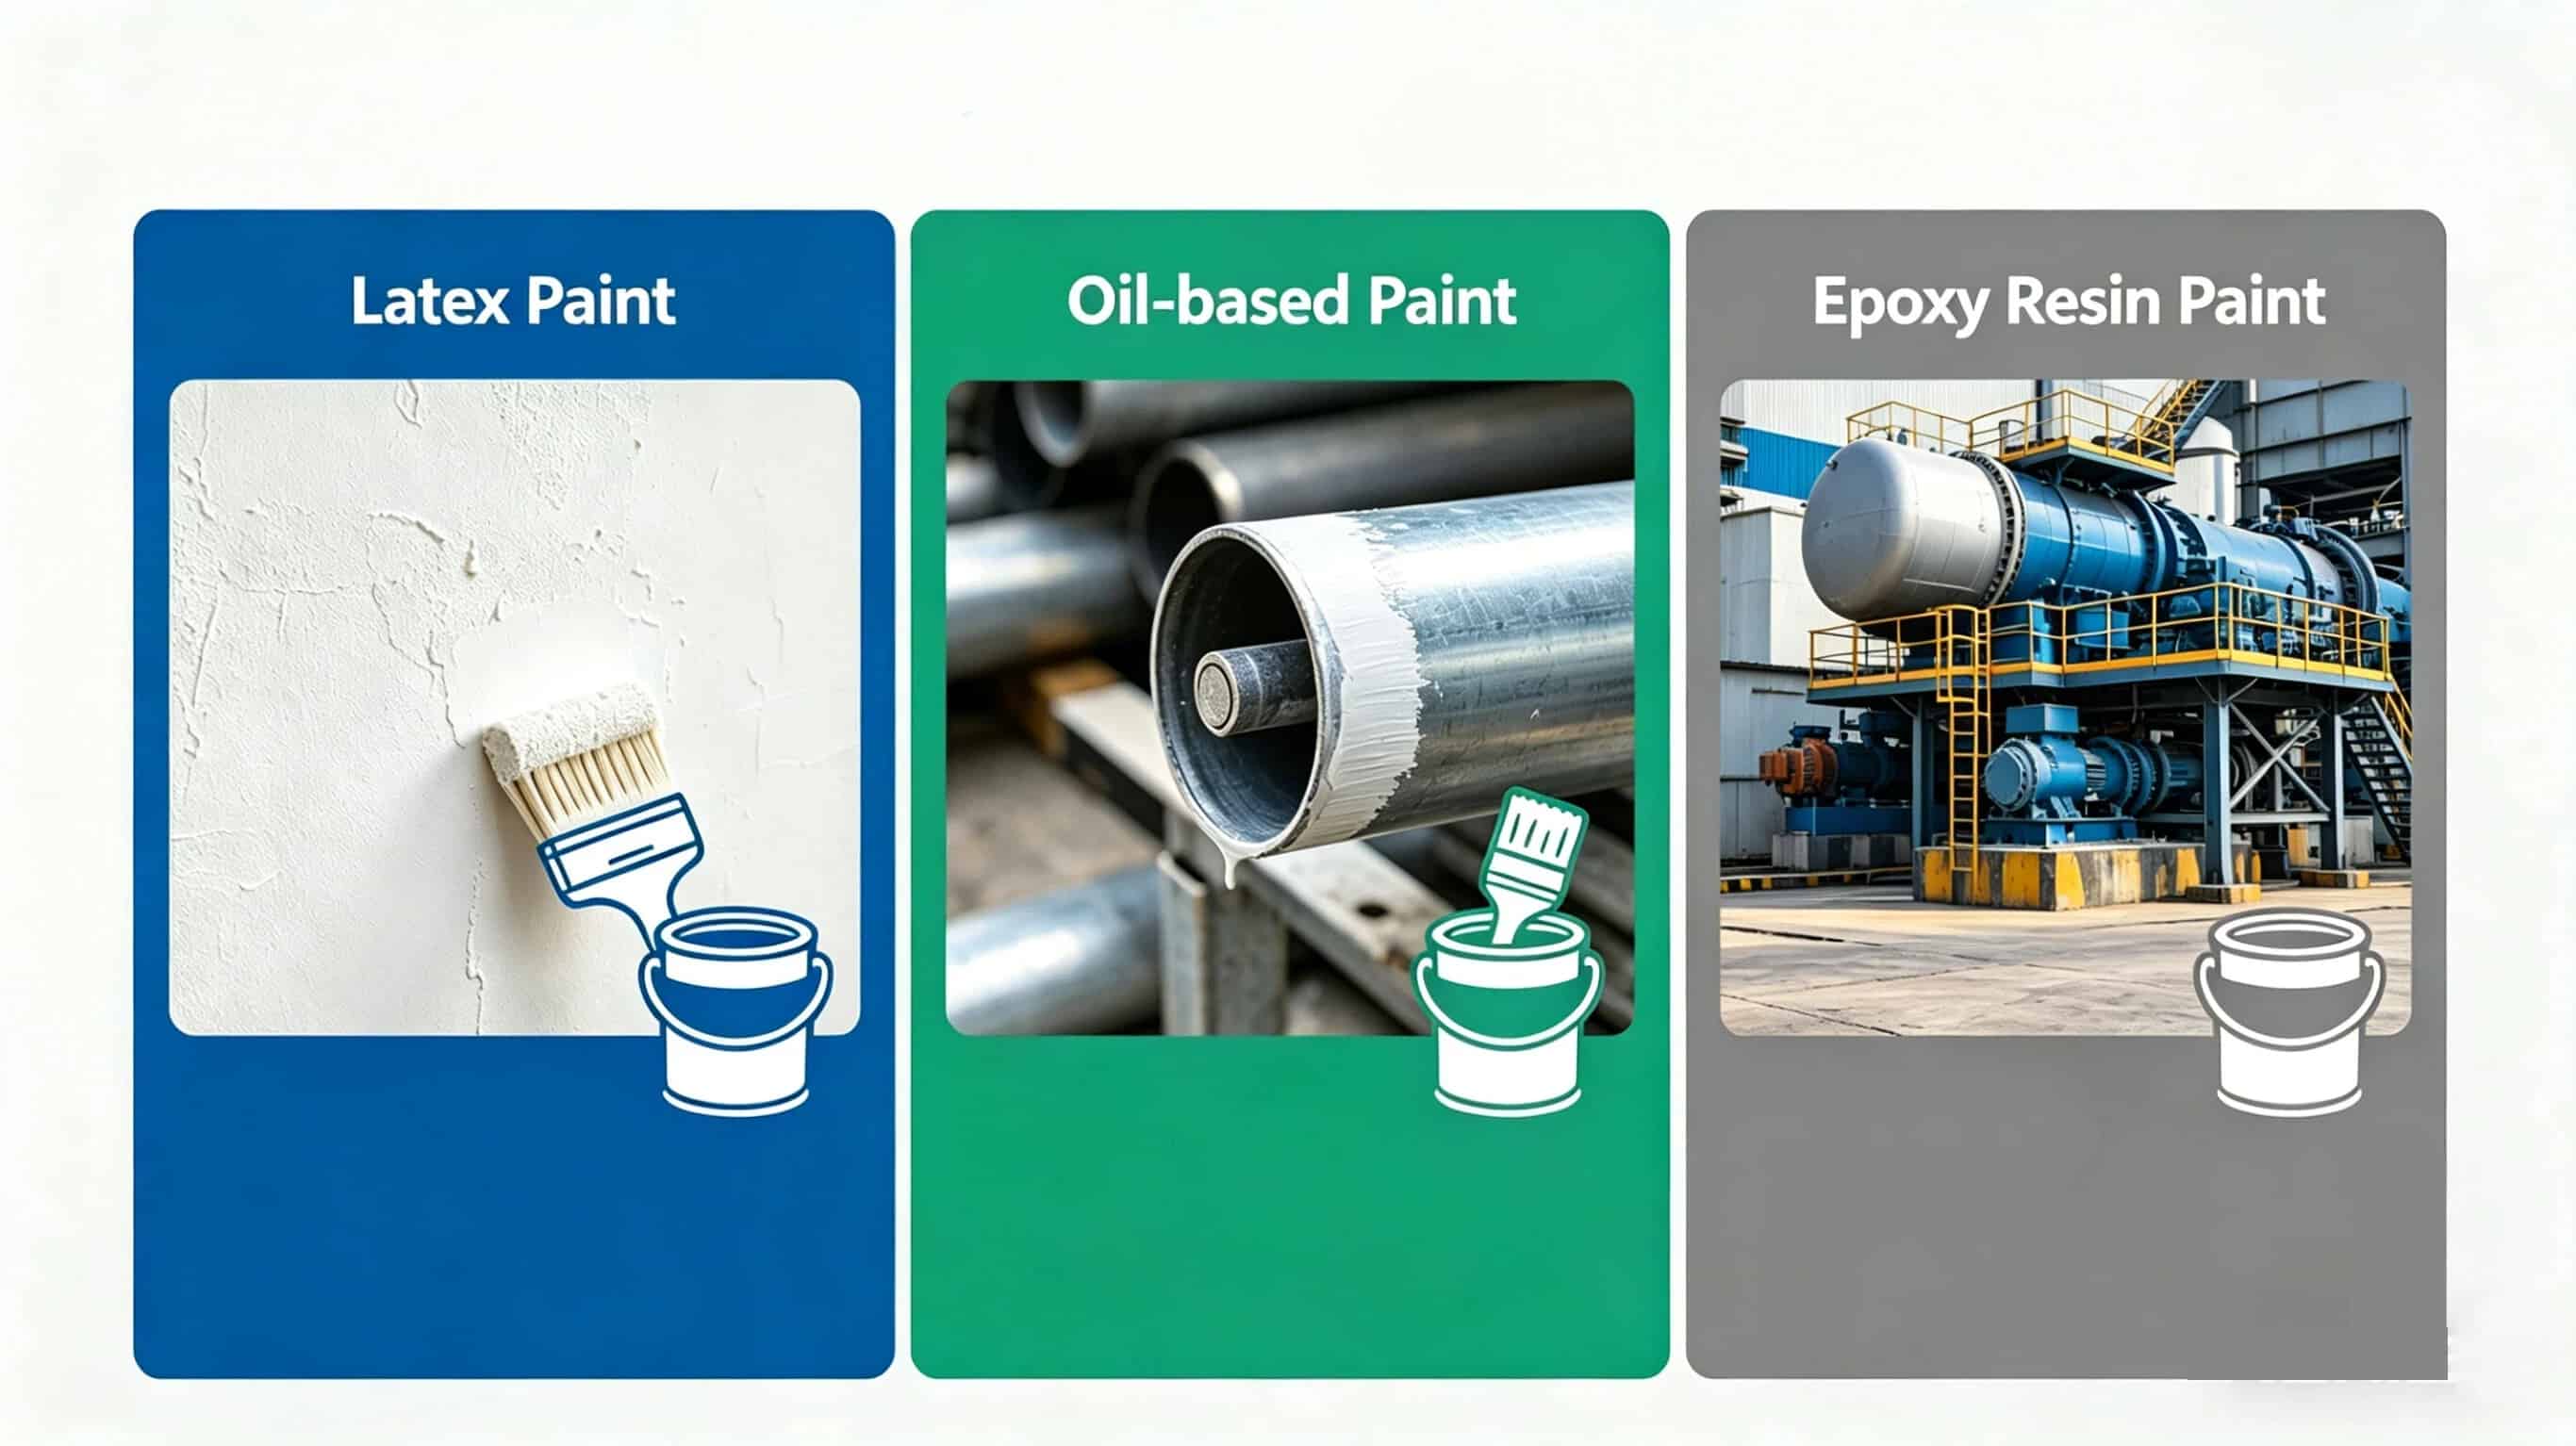
The molecular structures and adhesion properties of different paint types show significant differences. Before starting the application, it is essential to determine which type of paint you are dealing with.
| Paint type | Identification method | Required PSI | Is pre-treatment required? | Difficulty |
| Latex paint / Water-based paint | After drying, it is relatively thin and can show the base texture. It is easy to fall off when scratched or bounced by fingers | 1,500 – 3,000 | Usually not necessary. | ⭐⭐ |
| Oil-based paint / Alkyd paint | Thick and opaque, cannot be removed by finger scraping, with high luster | 3,000 – 4,000 | It is recommended to use a chemical stripping agent in conjunction. | ⭐⭐⭐⭐ |
| Epoxy coating | Industrial flooring, garage floor, extremely hard, not prone to scratches | 3,500 – 4,500 | Pre-treatment is necessary. | ⭐⭐⭐⭐⭐ |
| Acrylic paint | Commonly used outdoors for metal structures and building exteriors, with good flexibility | 2,500 – 3,500 | It depends on the adhesion condition. | ⭐⭐⭐ |
Step 2: PSI and GPM Selection
Most people only focus on PSI selection, which is a costly misconception. PSI determines the impact force, while GPM determines the rinsing speed – the combination of the two is the true cleaning capability. In the industry, it is measured by the formula “cleaning unit (CU) = PSI × GPM”.
| Paint removal task | Recommend PSI | Recommend GPM |
| Paint removal for wooden exterior walls / wooden fences (latex paint) | 2,500 – 3,000 | 2.5 – 3.0 |
| Paint removal for concrete driveways (oil-based paint / multi-layer paint) | 3,000 – 4,000 | 3.5 – 4.5 |
| Paint removal for metal surfaces (steel doors / equipment) | 3,000 – 3,500 | 2.5 – 3.5 |
| Epoxy paint removal for industrial floors | 3,500 – 4,500 | 4.0 – 5.0 |
| Pre-treatment for coating of bridge / building facades | 4,000 – 4,500+ | 4.0+ |
Selection Suggestions
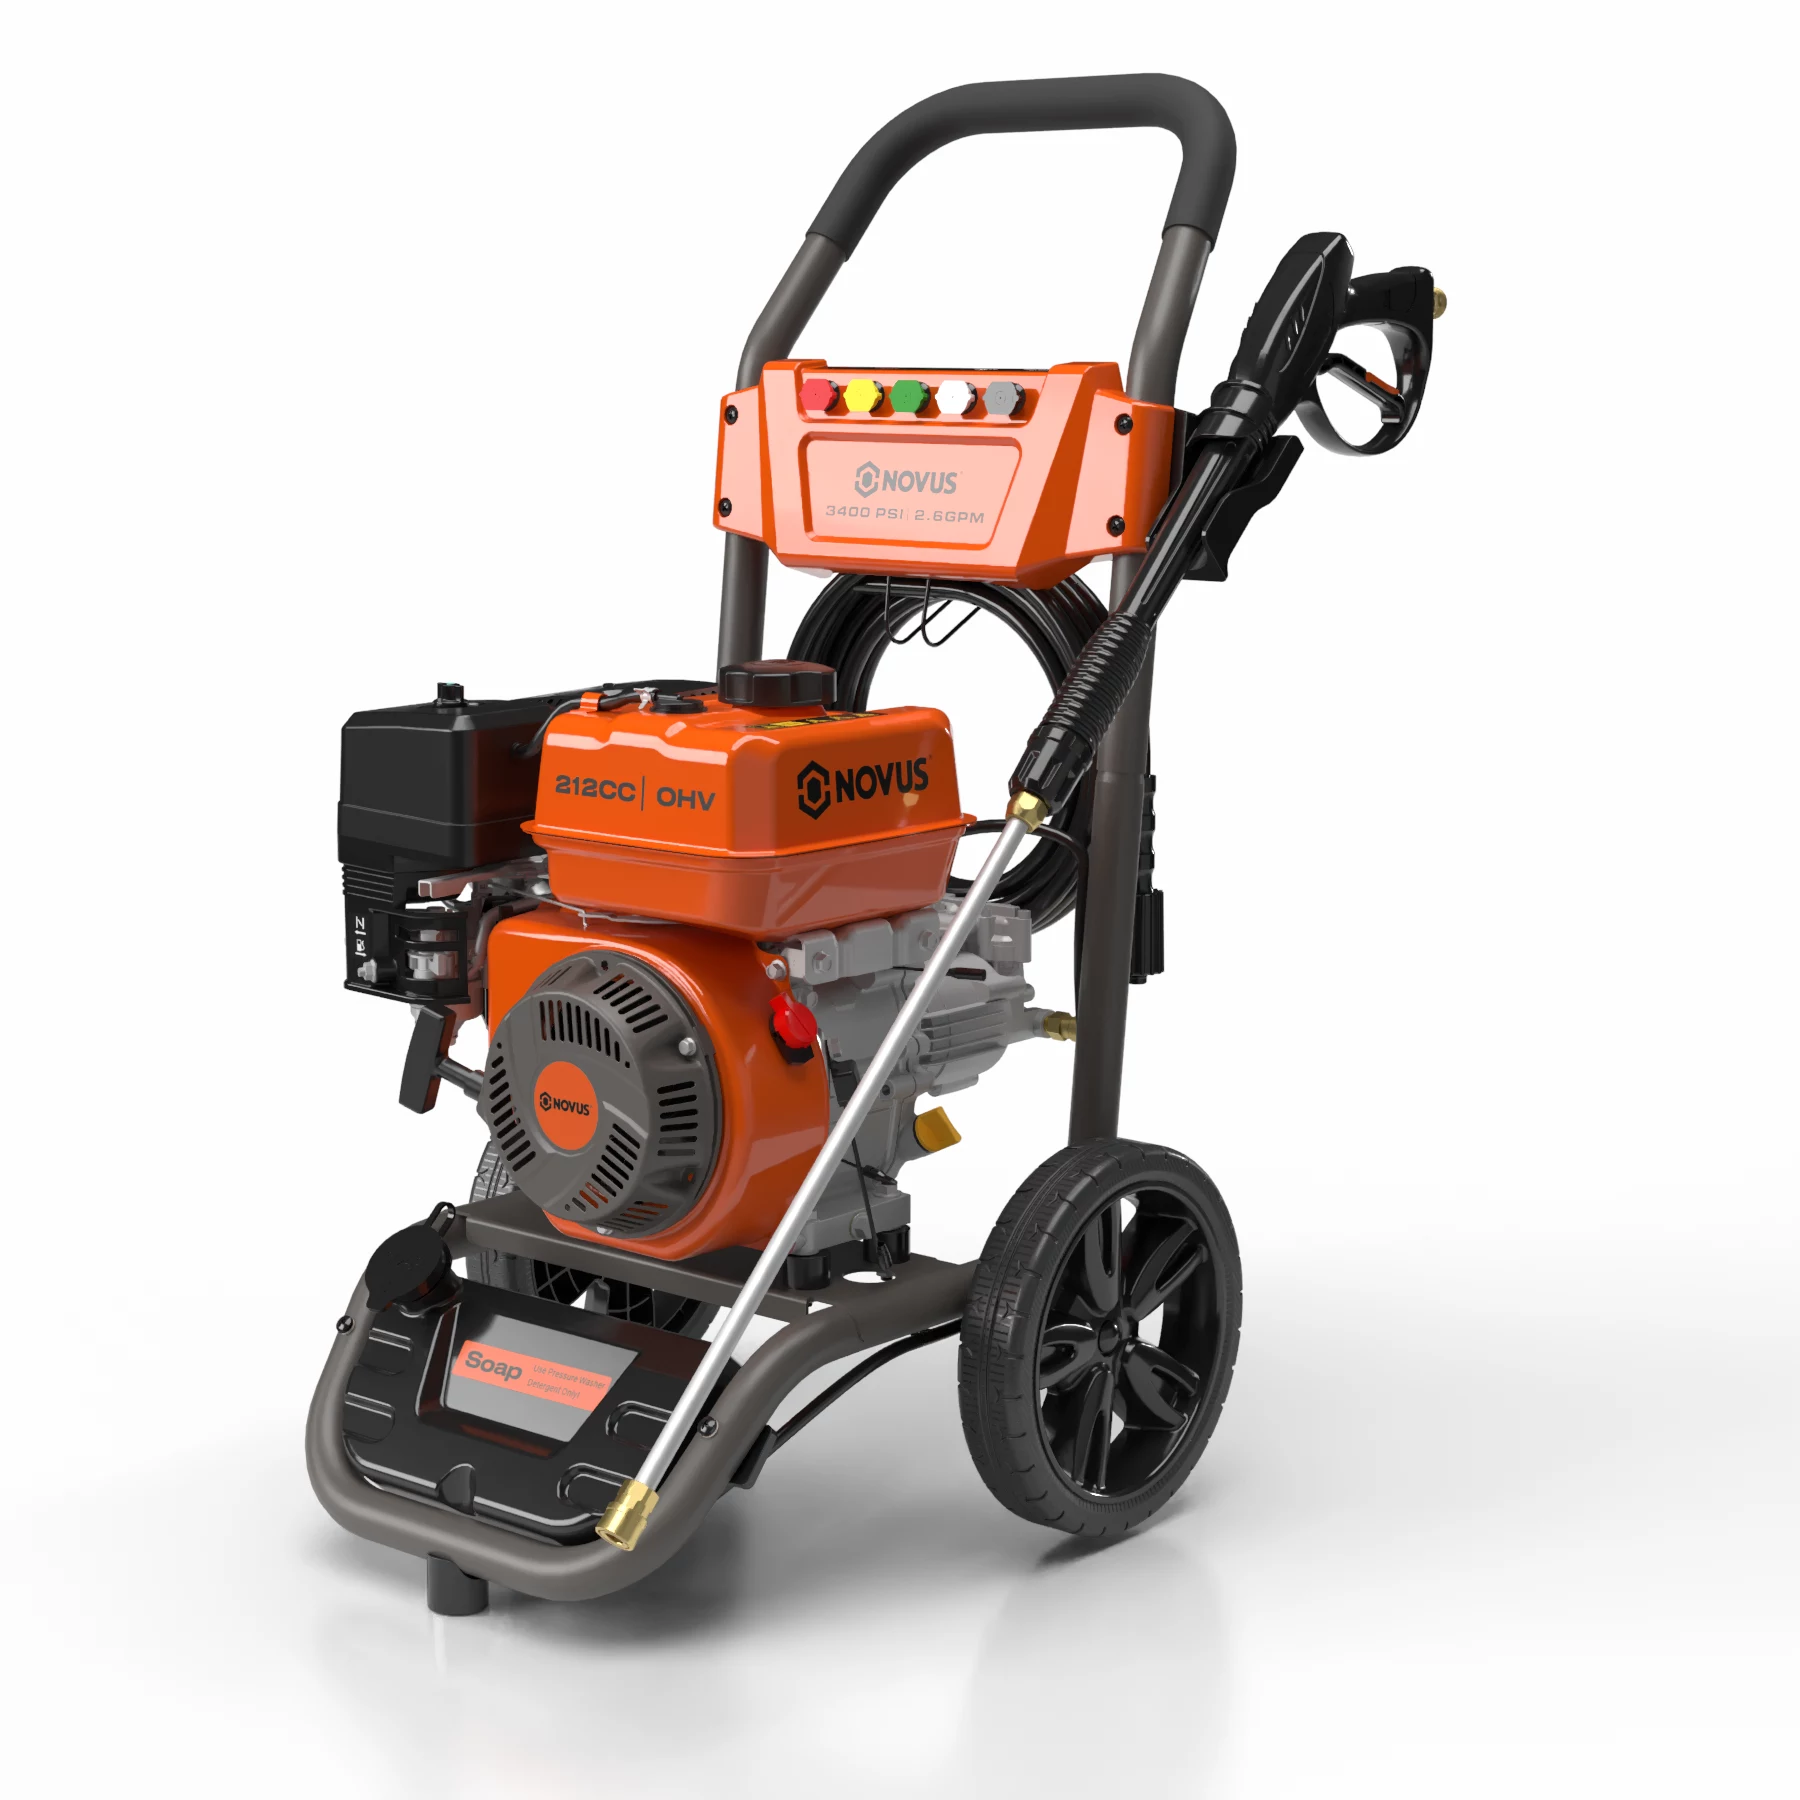
For most residential and light commercial paint removal tasks, a gas model with 3,000 PSI / 3.5–4 GPM is sufficient. Models with 4,000 PSI or higher are more suitable for industrial or professional contractor scenarios, as the risk of operational errors also increases proportionally. Novices must be cautious.
Step 3: Nozzle Selection
With the same machine, changing the nozzle can result in a pressure acting on the surface that can vary by more than three times. In the paint removal scenario, incorrect nozzle selection often causes more surface damage than an overly high PSI setting.

0° Nozzle
- red
- Extremely concentrated jet, with extremely strong cutting force
- Paint removal is prohibited for use
15° Nozzle
- yellow
- Concentrated but in a fan shape, preferred angle for paint removal
- ✓ Concrete / Metal paint removal
25° Nozzle
- green
- General spray angle, balancing force and coverage
- ✓ Wood / Light paint removal
Turbo Nozzle
- Rotation
- Rotates 0° to form a cone shape, specially designed for concrete stains
- ⚠ Only applicable to hard surfaces
The standard progression for paint removal is: start by testing with 25° green, and if that’s not enough, switch to 15° yellow. Never use a 0° red nozzle. Rotary Turbo nozzles are extremely effective on concrete, but pose a risk of damage to old concrete or sealed surfaces; always test in a concealed area before use.
Consumer Reports has clearly warned The concentrated jet of the 0° red nozzle can penetrate the protective boots and cause deep cuts to the skin. Many professional institutions recommend discarding the random red nozzle that comes with the machine. If your machine does not have the 15° yellow nozzle, it is not suitable for professional paint removal operations.
Step 4: Differences in Operations On Different Surfaces
The pressure resistance and paint removal logic of concrete, wood and metal surfaces are completely different. “Using a single set of parameters to cover all cases” is the most common cause of damage.
| Concrete surface Recommended PSI: 2,500 – 4,000 | |
| Nozzle | 15° yellow starting point, use Turbo for stubborn stains |
| Distance | 12 – 18 inches (approximately 30 – 45 cm) |
| Angle | 45° diagonal spraying, cutting into the edge of the paint layer |
| Attention | Exceeding 3,500 PSI may etch or scratch the concrete surface; test with 2,500 PSI before sealing the concrete |
| Suggestion | Combined with chemical strippers for pre-treatment, followed by high-pressure rinsing, the effect is enhanced by 50%+ |
| Wood surface Recommended PSI: 2,500 – 3,000 | |
| Nozzle | 25° green color, no need to rotate the nozzle |
| Distance | At least 18 inches (45 cm) minimum |
| Direction | Sweep in the direction of the wood grain to prevent fiber tearing |
| Attention | For softwood (pine/cedar), the upper limit is 1,500 PSI; high pressure will cause the wood grain to become frayed, and it needs to be dried and sanded with sandpaper |
| Suggestion | After removing the varnish from the wood, wait 24–72 hours for drying, then scrape off the residue, sand, and repaint |
| Metal surface Recommended PSI: 2,000 – 3,500 | |
| Nozzle | 15° or 25°, depending on the thickness of the paint layer |
| Distance | 12 – 18 inches |
| Aluminum material | Aluminum upper limit of 2,500 PSI, prone to denting and deformation |
| Attention | Exposed ferrous metal will quickly rust after being washed. After stripping the paint, it must be immediately coated with anti-rust primer |
| Suggestion | First apply the chemical stripping agent, wait 15–30 minutes, low-pressure rinse the residue, then increase to the target PSI |
| Brick wall / masonry Nozzle Recommended PSI: 3,000 – 4,000 | |
| Distance | 15° Yellow or Rotating Turbo Nozzle |
| Attention | 12 – 15 inches |
| Suggestion | Brick joint filling mortar is prone to damage under high pressure, so extra care is needed for the brick joint area |
| Brick wall / masonry Nozzle | The best result is achieved when combined with biodegradable chemical stripping agent. Check if the brick joints need repair after cleaning |
Complete Operation Steps
- Site preparation and surface inspection
Remove all movable furniture, flower pots, and decorations. Cover electrical outlets, light fixtures, windows, and surrounding plants with waterproof tarpaulin or plastic film. Inspect surfaces for cracks or damage; high-pressure water can widen existing cracks. Repair any damaged concrete or wooden parts before cleaning. Keep doors and windows closed and locked throughout the process. - Wear personal protective equipment (PPE)
There is no room for negotiation on this step. The following must be worn: goggles, waterproof gloves, non-slip closed-toe shoes, long pants and long sleeves, and hearing protection. Gas-fired high-pressure cleaners can generate noise levels exceeding 90 decibels; prolonged exposure can cause hearing damage. If chemical stripping agents are used simultaneously, a respiratory protective mask is also required. - Pre-treatment (Required for stubborn paint layers)
For oil-based paints, epoxy paints, or multi-layer paints, before the formal high-pressure washing, apply a uniform coating of biodegradable chemical strippers using a brush or sprayer to ensure complete coverage of the paint surface. Wait for 15–30 minutes (follow the product instructions), and do not allow the stripper to dry. Pre-treatment can increase the paint removal efficiency by over 50% and allows you to use a relatively lower PSI, reducing the risk of surface damage. - Small area test
First, use the target nozzle and PSI to conduct a 10 × 10 cm test rinse in an inconspicuous corner (such as the lower part of the wall corner or the backside of the staircase). Observe the peeling of the paint layer and whether the substrate is damaged. If there are white powdering marks on the concrete, fiber tearing on the wood, or surface fraying, immediately reduce the PSI or replace the wide-angle nozzle. This step takes 5 minutes but can avoid hours of repair work. - Professional paint removal and rinsing process
Hold the spray gun at a 45-degree angle and keep a distance of 12–18 inches (about 30–45 cm). Spray from a higher position to a lower one, allowing the peeling paint to flow downward with the water. Keep the nozzle moving continuously at a constant speed. Never stop at the same point for more than 2 seconds – staying there will leave circular etch marks on concrete and deep pits on wood. For wood, sweep from one end to the other along the grain in one go. Work in sections, moving to the next piece after completing each area. - Final rinse
Return to the 40° white nozzle and use clean water to thoroughly rinse the entire surface from top to bottom. Remove all remaining paint chips and chemical stripping agent residues. If a chemical stripping agent was used, the rinsing must be thorough – residual chemicals can affect the adhesion of the primer and topcoat. After the final rinse, turn off the cleaning machine and immediately rinse the internal pipes of the machine with clean water for 2 minutes to prevent chemical corrosion of the pump body. - Wastewater treatment and on-site cleanup
Wastewater containing paint chips is directly discharged into the sewer or seeps into the soil. This is illegal in many areas, especially for old paints that contain lead, VOCs (volatile organic compounds), or heavy metals. Use absorbent pads or barriers to collect the wastewater and send it to designated waste collection points or contact local hazardous waste disposal agencies. When cleaning up the site, wear gloves to pick up the paint chips and place them in sealed bags for disposal in accordance with local regulations.

These Mistakes Will Ruin Your Surface
Error 1: Being too close
When the nozzle distance is less than 10 inches, the actual pressure doubles. Concrete will develop etching pits, wood will be torn apart, and metal will become concave. Always start from 18 inches away.
Error 2: Remain stationary at one point
A stay of 2 seconds will leave circular marks on concrete and deep grooves on wood. The nozzle must continuously move in an arc at a constant speed.
Error 3: Using 0° red nozzles
The concentrated jet will leave irreparable scratches on any surface and pose a serious threat to the operator’s personal safety. Never use 0° nozzles during paint removal operations.
Error 4: Skipping small area tests
Each surface condition is different, and the “last successful” parameter may not be suitable for today’s project. Conduct a 5-minute test to save 5 hours of repair time.
Error 5: High-pressure washing of wood in the reverse grain direction
The high-pressure water flow across the wood grain can tear the wood fibers, causing irreversible fluffy damage. Even after sanding, it is impossible to completely restore the original state.
Error 6: Ignoring lead paint detection
Buildings constructed before 1978 have a high probability of having lead-containing exterior paint. The lead paint particles produced by high-pressure atomization can pollute the soil and air, causing irreversible harm.

Leave feedback about this