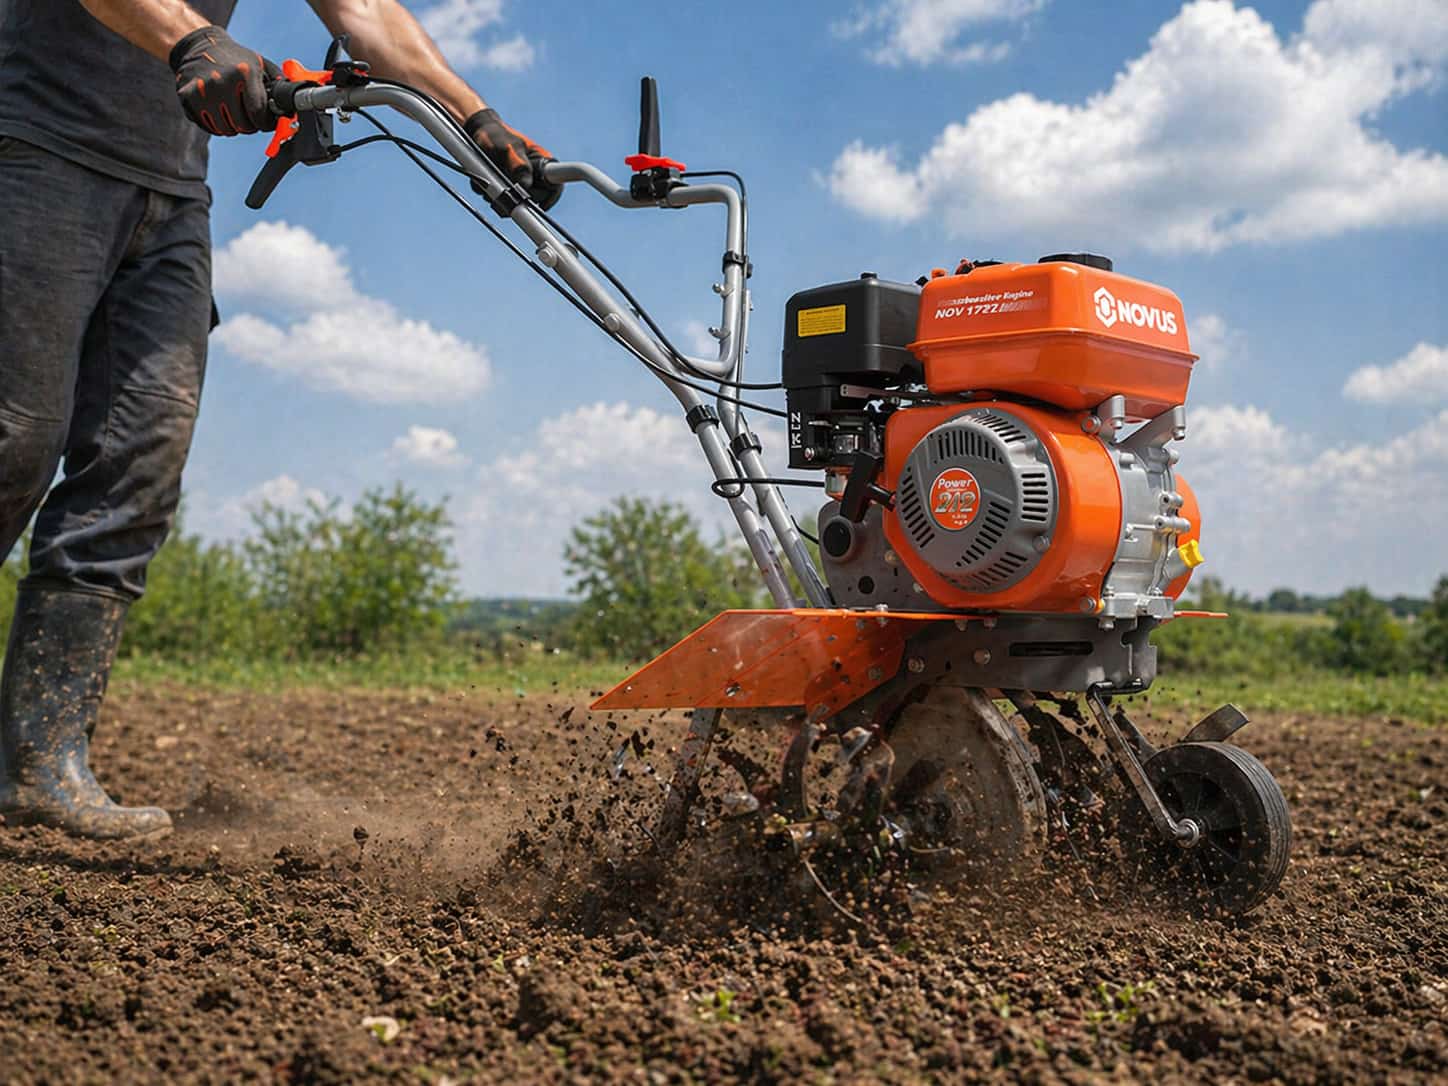
Clay soil is the most troublesome adversary for gardeners. It becomes as hard as concrete in the summer sun, and then turns into a thick, sticky mud after rain, hardly yielding to any light tools. When you aim a gasoline-powered front tine tiller at a stubborn clay land, the final outcome depends on how well you have prepared beforehand and how deeply you understand the limitations of this machine.
A gasoline-powered front tine tiller can definitely be used for farming on clay soil, but it must not be forced with brute force. If the conditions are not right, you should not operate the machine. In the worst case, the machine will jump around, stall, and skid; in the best case, the already compacted soil will become even more compacted, leaving you with nothing to plant. However, if operated properly, you can transform a dense clay bed into loose and easily broken seedbed soil, without damaging the machine, destroying the soil structure, or straining your back.This article will help you understand from beginning to end: why clay soil is a special challenge, what preparations determine success or failure, the step-by-step operation techniques of the front tine tiller, and how to improve the clay soil over the long term to make it more useful.
Why Clay Soil Is a Special Challenge for Front Tine Tillers
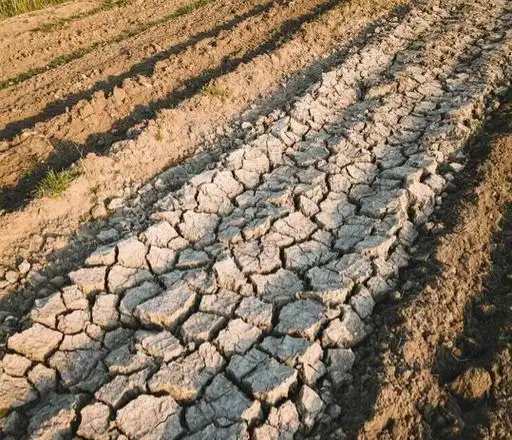
The clay particles are fine and have few pores. When dry, the clay is hard; when wet, it is sticky. The front-mounted front tine tiller’s tillage blade is responsible for both cutting the soil and propelling forward. The operator must actively counteract the machine’s force, which can lead to:
- Tiller bouncing and accelerated wear
- Overload damage to belts or gears
- Formation of a “hard layer” that hinders root growth
- Leaving large soil clumps, resulting in poor tillage effect
The key is not that the machine is faulty, but whether you adapt to the characteristics of the soil. Soil moisture determines 80% of the tillage quality.
Humidity Test – The Most Important Step
Hand-pulling test method
Dig out a small handful of soil from a depth of 2 to 3 inches, hold it tightly and then drop it from the waist:
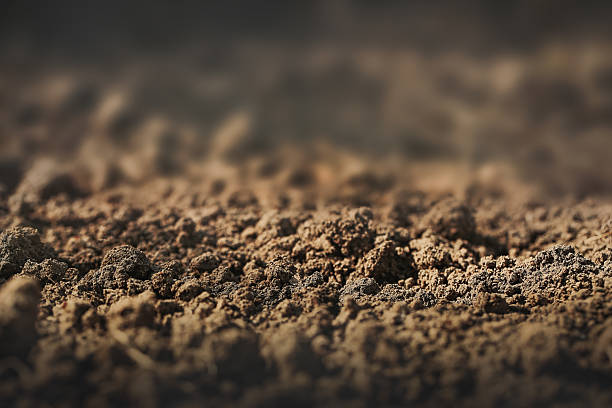
- The soil breaks and disperses upon impact → Optimal tillage condition
- Maintain the shape and it crumbles easily upon gentle tapping → Slightly moist, acceptable
- It doesn’t crumble upon tapping → Too wet, wait for 1-2 days
- It disperses before hitting the ground → Too dry, water lightly for 24 hours
- It feels sticky and leaves mud marks → Severely overwet, cannot be tilled
Seasonal timing suggestions
- Spring: Wait 2 to 3 days after rainfall. When the surface dries up while the deeper soil still retains moisture, then carry out the farming.
- Summer: Water thoroughly the night before, and start work early in the morning before the sun gets hot.
- Autumn: In the early autumn, after rainfall and before the soil freezes, it is often the best farming window. It is also usually the most labor-saving time for clay farming throughout the year.
- After heavy rain: Even if the surface looks very dry, the deep part of the clay still contains water. Farming will inevitably cause clumping. Be sure to wait.
Preparing for Cultivation
The excellent results of clay cultivation are determined long before you pull the starting rope. The 30 to 60 minutes of preparatory work beforehand determines how smoothly the machine can move, how deep the plow can go, and ultimately how fine the soil quality will be.
Clearing the plot
The clay soil contains various “traps” – stones, root systems, hard soil clumps. Once the plough gets stuck in any of these, it could cause minor damage like a broken belt, or even severe damage like a sudden tilt of the machine.
Very hard clay – the surface is broken
If your clay is extremely hard and compacted — the kind where the tines will bounce off rather than penetrate — consider doing a light scoring pass first with a garden fork or spade. Drive the fork 4 to 5 inches into the soil every 6 to 8 inches across the entire plot. This gives the tines an initial point of entry and dramatically reduces machine bouncing on the first pass.
Alternatively, water the area and let it absorb overnight before tilling. This single step can turn borderline-too-hard clay into perfectly tillable soil.
Sprinkle soil amendment (optional)
Compost: Spread 7-10 centimeters
Calcium sulfate: Approximately 4 kilograms per 100 square meters
Coarse sand: Spread 5-8 centimeters (do not use fine sand)
Composted manure or perlite
Note: Fine sand + Clay = Concrete-like mixture.
Check the condition of the tiller
Before starting the machine, take 5 minutes for a quick check:
- Check the oil level – clay farming puts more load on the engine, so make sure there is sufficient oil
- Check if the plow blades are bent, cracked or severely worn – deformed plow blades will cause inconsistent penetration and increase bouncing
- Check the tension and wear of the belt – a loose or aged belt will slip severely in clay
- Set the tillage depth to the shallowest gear – for the first pass, do it shallow, and gradually deepen in subsequent passes
- Check if all bolts and fasteners are tightened – clay farming is vibration-prone and easily causes loosening
The Tilling Technique — How to Actually Do It
First pass: Shallow trenching (depth 5 to 8 centimeters)
On the first pass, never pull the depth all the way up at once. Set the adjustment lever to the shallowest position and move the machine in a straight line along the long side of the plot at a constant speed. The goal of the first pass is:
- Break the surface crust and establish an initial loosened layer
- Test the soil condition – if the machine bounces violently, the soil is too dry; if the plow blade frequently gets stuck in mud, the soil is too wet
- Understand the machine’s reaction characteristics of this plot of land
Maintain a slow and steady walking pace, allowing the plow to do the work on its own. Do not force it to move faster. On hard clay, slow and steady progress is much better than a fast and forceful hard push. If the machine frequently jerks, immediately reduce one gear. The first pass that is shallow and steady is far better than the rough and forceful hard overturning.

Direction is crucial: Use the grid intersection method
After completing the first set of straight ploughing paths, rotate 90 degrees and do another set in the vertical direction. This cross-farming method is particularly crucial for clayey soil for the following reasons:
- Break up the soil ridges and slopes left from the first ploughing
- Allow more of the soil surface to come into contact with the ploughing knife, reducing large soil clumps
- Ensure a more uniform depth throughout the entire plot
For most home garden plots, at least four layers are required: two sets in the vertical direction, each set gradually becoming deeper.
Increase Depth Gradually
After your first shallow pass, increase tilling depth by about 1 inch per subsequent pass. A typical progression for clay soil looks like this:
| Pass | Direction | Depth | Goal |
| Pass 1 | North–South | 2–3 inches | Break surface crust |
| Pass 2 | East–West | 3–4 inches | Cross-break clods, even depth |
| Pass 3 | North–South | 4–6 inches | Deepen loosened zone |
| Pass 4 | East–West (diagonal optional) | 5–7 inches | Final refinement, mix amendments |
The effective tillage depth of a front-mounted front tine tiller in clay soil is usually around 15 to 18 centimeters – attempting to exceed this depth forcefully merely causes the tiller to drag through the compacted subsoil without effectively breaking it up. If deeper tillage is required, it is recommended to rent a rear-mounted front tine tiller with a Counter-Rotation Tiller (CRT) to complete the initial deep tillage.
Slow Down on Tough Spots
If you come across a section that is harder than the surrounding areas – perhaps a place that has been trampled and compacted, or a corner where the soil dries out more quickly – slow your pace and give the ploughing tool more time to interact with the soil. Do not force an acceleration. For particularly tough areas, do an extra pass alone before continuing the overall advancement.
How to Handle Machine Bouncing
In some cases, the front-mounted tiller may jump violently in hard clay – the plow blade is lifted off the ground and the machine handle suddenly rises. In such situations:
- Immediately stop moving forward and hold the handle firmly with both hands.
- Reduce the plough depth by one notch.
- Proceed again at a slower pace.
- If there are repeated bouncing movements, it indicates that the soil is too dry – stop the machine, water it, and come back the next day.
Handling soil clumps
Even under ideal conditions, ploughing clay soil can result in some soil lumps – large, hard clumps of soil that the plough blade fails to completely break up. After each pass, using a rake to manually break up the surface soil clumps is very effective. You can also do a final shallow pass of tillage at the end, at which point the machine is more like a soil conditioner rather than a front tine tiller, helping to break up the remaining soil clumps.
Never force the soil to be ploughed when it is still moist in an attempt to avoid the formation of soil lumps. When the wet clumps dry out, they will become hard masses like concrete, which are even more difficult to handle than dry soil clumps.
Under what circumstances will the front-mounted tiller be unable to perform its task effectively?
It is necessary to clearly explain the limitations of gasoline front-mounted tillers on clay soils. These machines are excellent helpers for previously tilled plots and moderately compacted soil, but in certain situations, other tools are indeed needed:
- Unfarmed virgin land: When first cultivating dense clay turf, almost all require a rear-mounted tiller with reverse rotation blades (CRT), or have the agricultural machinery do a deep tillage first, then use the front-mounted machine for subsequent maintenance.
- Need to till a depth of over 18 centimeters: If growing deep-rooted crops such as carrots and turnips requires a 25 to 30 centimeter deep tillage, the front-mounted machine is unable to handle it and should rent a rear-mounted tiller to complete the task.
- Stony clay: In plots with dense stones, the front-mounted machine is prone to dangerous bouncing. First, clear the stones manually or use a more stable rear-mounted model.
- Large plots (over 200 square meters): Using the front-mounted machine to operate on large clay fields is very physically demanding. Self-propelled rear-mounted tillers are much more practical in such situations.
In such cases, you may consider renting a rear-mounted tiller during the first cultivation season to complete the initial deep plowing. After a few years, as the soil structure improves, you can then use your front-mounted machine for annual maintenance, which will be more efficient and less tiring.
Summary
The gasoline-powered front-mounted tiller can work harmoniously with clay soil – provided you respect the conditions for their cooperation. Soil moisture is the core of the core. Get the moisture right, make proper preparations before tilling, proceed with multiple passes of gradually deeper tilling, and protect the soil immediately after the operation. Skipping these steps will result in a battle with the machine, damaging the soil, and ultimately leaving a field full of concrete-like clumps.
Those who suffer setbacks when using the front-mounted tiller on clay soil are almost always due to being too dry, too wet, or starting at the deepest setting right from the beginning. Successful people are all those who first test the soil, proceed slowly, and then trust the entire process.


Leave feedback about this