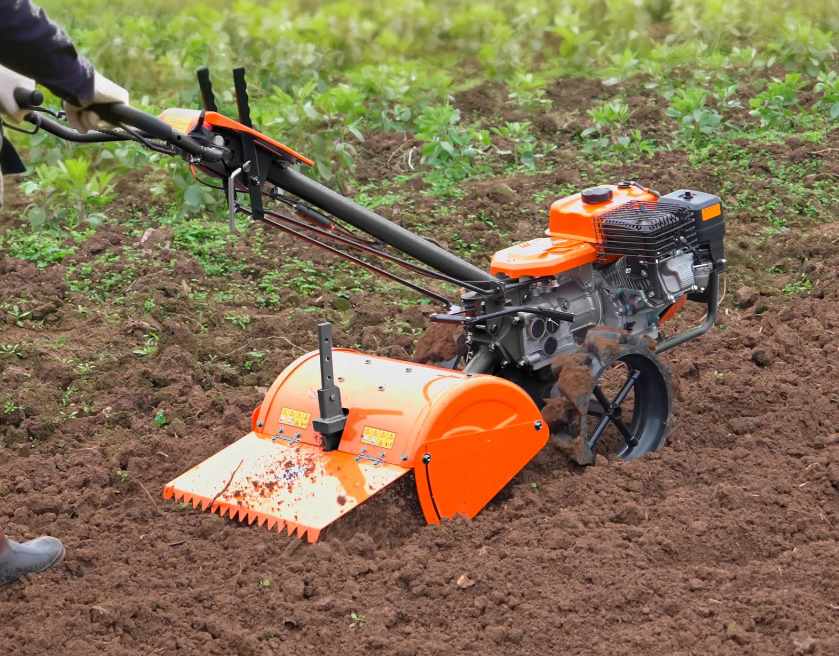
In horticultural farming, hard and compacted soil is the most common operational challenge. When a tiller is used on such land, it cannot sink smoothly into the soil and may experience violent bouncing, only be able to scrape off the surface soil, or get stuck. Most people who encounter this problem mistakenly believe it is a malfunction of the tiller equipment. However, in actual operations, these situations are basically caused by three factors: high soil hardness, improper farming methods, and inappropriate selection of machinery.
In fact, as long as the operation methods and techniques are appropriate, hard and compacted soil can be effectively loosened. This article will explain from a technical perspective the main reasons why cultivators fail to operate in hard soil, present the process of loosening the compacted soil, and help everyone better carry out horticultural farming.
Why Your Tiller Struggles with Hard Soil
Hard soil is much more resistant than loose garden soil. When the ploughing machine’s blade hits compacted hard ground, it simply cannot sink in. The machine will shake uncontrollably, skid on the spot and fail to till the soil properly.
This situation occurs mainly due to lack of water and drought. In areas with clayey soil, if there is no rain for a long time and the soil dries out, it will become very hard and solid, and the ploughing machine’s blade simply cannot penetrate it.
Another common problem is soil compaction. When people walk frequently, heavy machinery is driven over it, or the land is left idle and neglected for a long time, the soil layer will be compacted, the air permeability will decrease, and the surface becomes extremely difficult to cultivate.
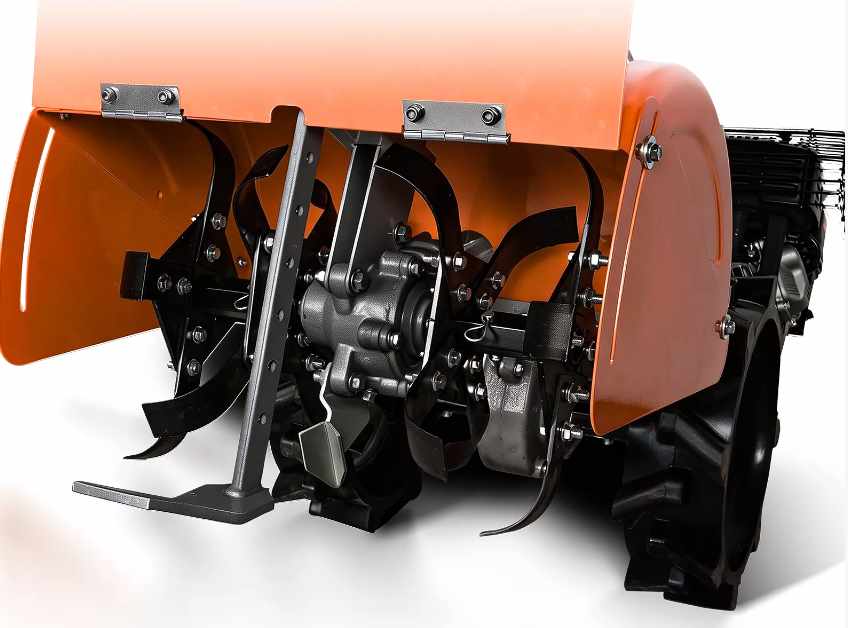
In addition, the choice of the model of tiller is also crucial. The small electric tillers is suitable for ordinary light gardening tasks, but it becomes ineffective when dealing with clayey and severely compacted soil. For poor working conditions and hard soil, the rear-mounted hard soil-specific cultivator is more effective. It has greater self-weight, traction force and soil-turning power. Gas-powered models are better suited for hard ground operations, with high torque, capable of repeated deep cultivation, and reliable results.
How to Break Hard Soil with a Tiller
Step 1: Use the Right Tiller for the Job
Before starting the farming operation, make sure that the tiller is suitable for the compacted soil. Compact front tine or electric tillers may be suitable for already loosened soil, but they often have difficulty operating in hard clay or unprepared areas.
In cases where the soil conditions are poor, gasoline-powered rear tine tillers are usually a better choice. The heavier body design helps the machine remain stable, allowing the cultivating teeth to penetrate the soil more deeply rather than bouncing on the soil surface.
If the soil is very compacted, forcefully using a small tiller may damage the machine and waste time.
Step 2: Water the Soil Before Tilling

Attempting to plough soil without moisture is the mistake that home gardeners usually make. It becomes much easier for the soil to be broken down when it is soft and contains moisture.
It is recommended that you water the soil lightly the day prior to tilling or do your tilling right after moderate rainfalls. The soil should be moist but not saturated with water. Waterlogged clay soils tend to stick, clogging the rakes on the tiller.
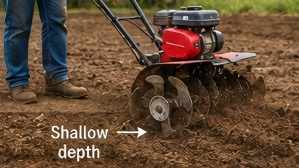
Step 3: Start with Shallow Passes
For the first cultivation, do not dig too deeply. This usually causes the machine to bounce excessively and puts unnecessary pressure on it.
Instead, a shallow tillage of approximately 2 to 3 inches should be carried out first. The main purpose of the first tillage is to break up the surface soil. Once the soil begins to loosen, the depth of the tillage can be gradually increased. This method is much more convenient for both the machines and the operators.
Step 4: Till Slowly and Let the Machine Work
Many beginners try to push the tiller aggressively through hard soil. In reality, forcing the machine forward usually reduces digging performance.
Move slowly and allow the tines to pull the tiller naturally through the ground. A steady pace gives the blades more time to cut into compacted soil.
If the tiller starts bouncing excessively, slow down and reduce the tilling depth temporarily.
Step 5: Cross Till the Area
Having done the initial pass through, till the land again in the reverse direction. The crisscross approach will help reduce any lumps, creating an improved soil structure. Crisscross tillage works well on clay-rich soils and compacted land that has remained that way for many years.
Step 6: Repeat if Necessary
When the soil is heavily compacted, repeated tilling operations may be necessary until you have a well-workable plot. Do not expect a perfect outcome in just one operation, particularly with tough clays and unbroken land.
Takes some patience. Repeat shallow tills tend to yield better outcomes in the long run than one deep tillage operation.
Hardly tilling the land is a headache-inducing task, but as long as the right equipment is chosen and the right methods are employed, it can generally be accomplished easily. Most of the time, it’s not the tiller that breaks down, but rather the soil is too dry and compacted, the operation method is incorrect, or the machine itself doesn’t have sufficient power.
If you often work on land with heavy clay soil or land that has not been cultivated for a long time, simply choose a plow suitable for hard soil. This will not only save time and effort but also lead to better results when farming or maintaining your garden in the long run.

Leave feedback about this